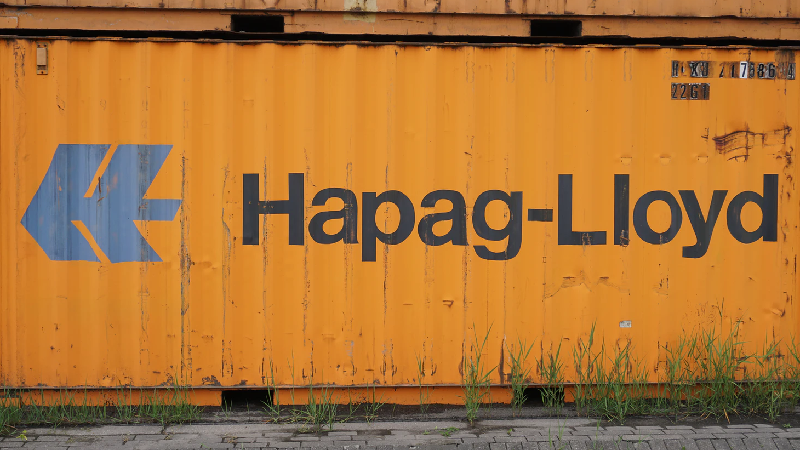
Carriers and shippers must ensure that a container is clean, before cargo is loaded and eventually exported. Shipping lines typically clean containers before releasing them to shippers for loading. For Shipper Owned Containers (SOC), the shipper will clean their own containers or appoint a vendor to clean containers on their behalf.
Cleaning a shipping container can be done in 5 simple steps starting with the container pre-inspection, followed by sweeping, dusting, washing and drying the empty container.
In this article, you’ll find a detailed step-by-step guide on cleaning a shipping container, the importance of cleaning a shipping container, what contaminants are generally found in containers and some important areas to check during the cleaning process.
Here’s a quick overview of the contents:
Importance of Cleaning Shipping Containers
Carriers have to ensure that they have a sufficient inventory of containers at any given time. Without available equipment, exporters are not able to ship cargo.
As containers need to be seaworthy and clean, every container is checked and cleaned once they are unloaded and returned to the carrier.
If empty containers are released to shippers that are not clean, they may reject them and request for a new container. This not only costs carriers additional money, but also prolongs the entire shipment process.
Moreover, contaminants in containers can also cause cargo damage and if deemed a health hazard by local authorities may be barred from entry. Therefore, it’s in the carrier’s and shipper’s best interest that the containers are well inspected and cleaned.
How to Clean a Shipping Container
A shipping container should be thoroughly inspected and cleaned, as this is where the cargo will be stored. Below, you’ll find the 5 steps on cleaning the inside of a shipping container.
1. Pre-Cleaning Inspection
Before washing a container, perform a pre-inspection of all areas inside the shipping container. Watch out for oils, liquids, stains, seeds, and foul smells during the inspection process.
Taking note of the contaminants will aid you in determining how to clean the shipping container. Be sure to carefully inspect the following locations physically and thoroughly. For a full list, click here:
- Walls
- Flooring
- Ceiling
- Corners
- Doors
2. Sweeping & Brushing
Before starting the washing process, it’s best to sweep and brush the interior first. This removes any type of dust and residue that may not come off during the washing process.
Start by cleaning the back of the shipping container and slowly move towards the front. Here, it’s best to use a broom for the floor and a brush for any residue if needed.
During this step, ensure that you leave the container doors open, so that you are able to sweep dust, pieces of wood, nails, and other small debris out of the container. If oil or any other liquid is found, use a mop.
Another option that you can make use of is an industrial vacuum or a leaf blower. Similarly, start from the back and make your way towards the front. Also take note to always wear a dust mask or a respirator with a filter when cleaning the container to avoid breathing them in.
3. Washing
To ensure that washing is done right and quickly, it is recommended to use a pressure washer and protective eyewear. Start washing from the back of the container and make your way towards the front.
Pay attention to each inside corner because those areas are notorious for dirt and dust buildup. Take note that the container flooring may need extra scrubbing to remove oils or any other type of substances.
Although the interior of the container is coated in marine paint, it may show signs of rust over time. While cleaning, take the opportunity to look for any rust spots, corrosion, and holes.
Take note of these and report them for possible container repair or repainting. Make sure that the container doors are open during the cleaning process, so that the water can flow out.
4. Drying
After the washing process is completed, let the container dry in an open-air environment and under sun if possible. Ensure that container doors remain open so that any smell, moisture, and molds are prevented.
It’s also common to use floor blowers or carpet dryers to accelerate the drying process. Ensure the container is completely dry, as prolonged contact with water may accelerate the wear on the marine paint.
Also take note that both container doors should be fully opened during the drying process.
5. Post-Cleaning Inspection
Now that the interior of the container is fully cleaned and dried, another full inspection of the container’s cleanliness and condition should be conducted.
Check again for dirt, holes, rust, dents, and chipped paint. Also try to take notice of any foul smells. Make a full inspection report and sign the container off as seaworthy, once it checks all of the boxes.
Does the Exterior of the Container Also Need to be Cleaned?
Yes, the exterior of the container should also be cleaned. This process is usually done at the same time the interior is cleaned. The exterior of the container should also be fully assessed, cleaned and dried.

Take note of the areas to look out for when doing so. The only difference is that the outsides of the containers are usually not dusted, as dust buildup is usually found on the interiors of a shipping container.
However, rust, dirt and debris are commonly found on the exterior. Therefore, ensure to carefully check the forklift pockets, locking mechanism, hinges, roof, walls and the underside.
What Can Contaminate a Shipping Container?
Containers are shipped from various locations across the world, that have different climates, environments and are home to different types of contaminants.
As shipping containers spend a considerable amount of time on the ocean, it gives certain types of contaminants such as mold and bacteria time to grow, especially in moist and warm weather conditions.
Therefore, it’s extremely important that shipping containers are seaworthy and completely cleaned before being shipped. Local authorities place emphasis on ensuring that pollutants and contaminants are minimized through certification and fumigation requirements in some cases.
Shippers, carriers and consignees need to ensure that all contaminants are removed in order to pass possible inspection. Parties who are known to have violated these official guidelines are often penalized or blacklisted.
Here is a list of possible contaminants to watch out for:
- Insects – Spiders, ants, bees, and moths can make nests in various sections of the container especially in corners, ridges, and below the container flooring.
- Animals – Various small animals like frogs and rodents can make their way into a container if it’s not properly sealed or if it was loaded at inappropriate locations. Rodents often produce animal waste that will contaminate the container and the goods inside of it.
- Plants – Any plant or its parts such as seeds or soil buildup must be cleaned. This can happen when a forklift is used to load a container outdoors.
- Residue – Oil or fuel from shipping incorrectly packed and stored machinery or material handling equipment (MHE) that moves goods into the container.
- Mold – Mold can grow on wet or damp surfaces, especially in dark conditions when the container doors are sealed shut. This is typically common on longer voyages.
In order to prevent these contaminants from festering, it’s important that shipping containers are fully inspected and cleaned.
Who Should Clean Shipping Containers?
The responsibility to clean it typically lies with the party who owns the shipping container. When booking a shipment directly with a shipping line, a carrier-owned container (COC) is released.
In this scenario, the carrier is responsible to ensure that the container is clean and seaworthy. The containers are cleaned in the depot and that is one reason why carriers may charge a container cleaning fee.
If shippers use their own containers, also referred to as shipper-owned containers (SOC), they have to ensure that the containers are cleaned instead of the shipping line. Shippers typically clean containers on their premise or engage a third party service provider.
Important Areas to Inspect When Cleaning a Shipping Container
Contaminants in shipping containers can be tricky to find, as they hide in corners and pockets that are not always easy to spot. Here’s a helpful list of important areas to inspect when you’re cleaning a container:
- Forklift pockets
- Locking mechanisms
- Walls and ceiling
- Hinges
- Castings and posts
- Flooring
- Underside
- Corners
- Rubber door seals
- Refrigeration unit (for reefer containers)

Get Free Course Access
If you enjoyed the article, don’t miss out on our free supply chain courses that help you stay ahead in your industry.

Gerrit Poel
Co-Founder & Writer
at freightcourse
About the Author
Gerrit is a certified international supply chain management professional with 16 years of industry experience, having worked for one of the largest global freight forwarders.
As the co-founder of freightcourse, he’s committed to his passion for serving as a source of education and information on various supply chain topics.
Follow us